
If you have upcoming or regular events you’d like to promote on the website, you’re in luck. The La Trobe University website has an event calendar that lists all the published upcoming events. It allows users to add the event to their calendar, register or find more information about the event. It will also have its very own URL and will be findable by search engines.
Events can be ‘categorised’ so that they show in your own site. This allows you to have your very own automated event listing showcasing your upcoming and/or past events.
Editing and publishing events
Want to learn how to create your very own events? We’ll show you how!
Step 1: Get permission
Before you can create an event, you need to be added to the Events Editor Group. To be added to this group, please submit a Digital Marketing Request. When you request access, also please specify which site you’ll be creating events for. We’ll let you know which category you’ll need to tag your event with to show up on your specific site.
Step 2: Gather your information and assets.
We recommend that you gather all your required content before starting to upload your event. The La Trobe web event template provides a helpful guide about what information you require to publish your event.
Step 3: Start uploading
Now that you’ve got permission and the required content, you’re ready to start creating your event. Follow these steps:
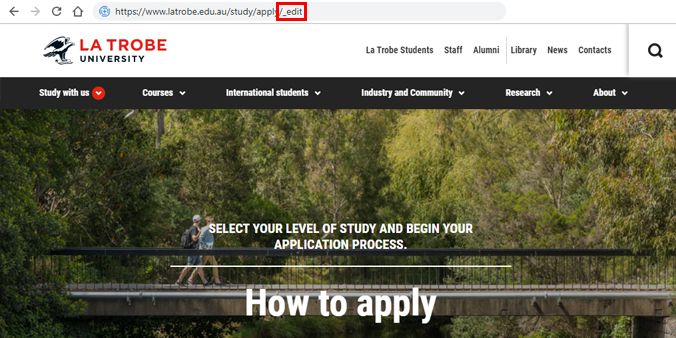
- Login to the CMS. /_edit on any latrobe.edu.au page.
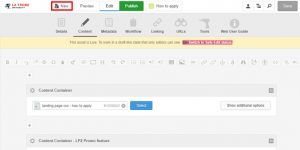
- Select ‘New’
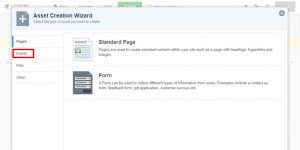
- Click ‘Events’
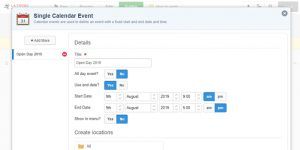
- Click ‘Single Calendar Event’
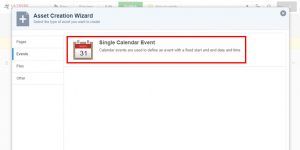
- Enter event ‘Name’, ‘Start date’, ‘End date’
- Click ‘Create’
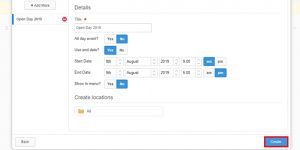
You will receive a message that the event has been created.
- Select ‘Edit’
- Click on ‘Details’ tab.
- Upload a related image.
- Click on ‘Metadata’ (this is the most important area.)
- Click ‘categorise this content’.
Select appropriate information (Area of Study, Campuses, College, etc.)
- Click ‘Save’
- Please enter information in fields with red asterisk.
- Deselect ‘Use default’ before entering information.
- Enter mandatory information- Type of event, Location, Contact (name & details), Presenter
- Please provide an accurate address, the field is populated by google maps.
- Enter ‘Brief description’ this will be your standard page metadata. A short description of the event.
- Click on ‘Content’
- Enter further information about the listing.
Best practice for creating an event
Here are some tips and tricks for creating an event listing that ticks all of the boxes:
- use the event template (La Trobe web event template) to gather your information or share with stakeholders who are requesting you create events.
- ensure you have all the information needed to create the event. Contact stakeholders and get approval. Don’t include partial information, such as ‘to be confirmed’, ‘TBC’ or ‘coming soon’.
- check that you’ve selected the correct year.
- make sure all mandatory fields are completed. Without these fields the event will not be published.
- it is recommended that you include a cost, even if it is ‘Free’.
Have questions about your web editing?
Remember, we’re always here to help! To reach out, please: