Resizing images doesn’t have to be a pain. This article will show you how to resize an image in Photoshop the easy way.
Bulk uploading images to a free online image resizer can be imprecise, and although the inbuilt image editor in the CMS can be handy, it’s good to not have to rely on it. What if we want to use an image outside that CMS, for example?
Adobe Photoshop is the way to go. It gives us the most control, and is actually just as easy as any other method – once you know how. You can find out more about requesting and installing Photoshop in the ASK ICT Knowledgebase.
How to resize an image
If you’ve never used Photoshop before, don’t worry. It’s easier than it looks. Follow these steps to get started.
- Open Adobe Photoshop and go to File > New (CTRL+N)
- Choose your width, height and orientation (images uploaded to the CMS should be 2560 x 1700 pixels; landscape). The other settings can stay as default.
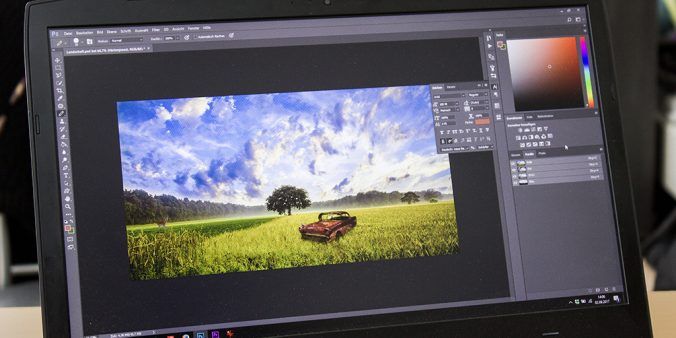
- You should now have a white box (canvas) on the screen. Drag your image from your desktop/folder into Photoshop and place it on top of the canvas.
- Holding down the SHIFT key, click on a corner of the image and drag the cursor until your image covers the whole canvas (the SHIFT key keeps the image in proportion.)
- Holding down the ALT key, click inside the image and drag the cursor so that the image is positioned as desired within the canvas.
- Hit Enter. You should now have an image that looks how you want it to, at the correct dimensions.
- Save the image by choosing File > Save As > Save as type and select JPEG from the drop-down menu.
- Type a filename (clear and concise is best), select a location, then click Save.
- A popup box entitled ‘JPEG Options’ will then appear. Select your desired file size on the sliding scale. Make the image smaller than 1 megabyte (1M). (Note: anything between 500K and 1M should be fine. Don’t pay too much attention to the quality rating above the scale. Keep any other settings as default.)
- Click OK.
You should now have an image saved to your computer, ready to upload to the CMS.
Once you’ve done this just a couple of times, it becomes very easy. And frankly, it’s much more fun than using an online or basic image editor. The best part about this method is that it allows you to reposition the image on the canvas and choose which parts sit with in the frame.
Tip:Remember that images for TFLs (task-focused landing pages) require slightly different dimensions to the standard ones listed above. For TFLs, you should upload images that are 2560 x 1400 pixels. The above instructions apply to standard pages.
Learn more about uploading your resized images on the Web User Guide.
Have questions about your web editing?
Remember, we’re always here to help! To reach out, please: